DIY: Flannel Baby Rag Quilt

This is the softest little quilt made of flannel. The best part about it is how dang easy it is to make!
All you need:
7 different, yet coordinating flannel fabrics cut @ 1/2 a yard each(so 7 half yards of fabric)
2 yards of solid flannel fabric for the batting (the middle of the quilt)(white is usually the best)
about half a yard of matching fabric for the binding
matching thread
sewing machine
scissors
And here is how it is done:
* Cut 2 strips of each fabric @ 6 inches wide (one strip will be the front and one the back)
* Cut strips 2 of each fabric @ 3 inches wide (one strip will be the front and one the back)
* Cut 7 strips of solid flannel @ 6 inches wide (this will go in between the other fabric strips measuring 6 inches wide)
* Cut 7 strips of solid flannel @ 3 inches wide (this will go in between the other fabric strips measuring 3 inches wide)


Make a fabric sandwich like the picture above and below!

 Now sew a seam down the middle of each fabric sandwich to hold all three pieces together.

Once you have sewn a seam down each fabric sandwich strip lay out your quilt.

Sew it together (ALWAYS RIGHT SIDES TOGETHER so that there is a tiny bit of fabric that you can snip. You choose the "right" sides for this quilt. One side of the quilt will be smooth and the other raggy.)
Snip fabric with scissors along each sewn line.(sorry for the lack of pictures to describe this... if you have any questions please email me or just ask with a comment!!)

 Bind it
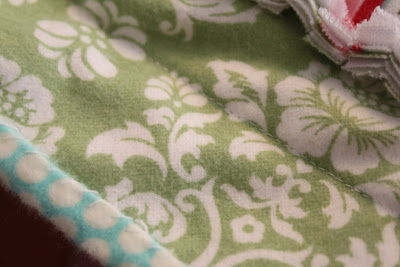
 Wash it... this will make it more raggy and get rid of all the little strings!!
 P.S. Don't know how to bind a quilt? Check out this link.... HOW TO BIND A QUILT thanks to the DIYDISH!
No comments:
Post a Comment