
Thanksgiving day is just around the corner and I think this apron looks Thanksgiving-ish. Basically it is our flirty apron revamped. The difference between this Thanksgiving apron and the flirty apron is just in the ruffles. Click here for instruction on how to make a flirty apron. You need to read it to understand this tutorial. That flirty apron was our very first post! I'm feeling a bit nostalgic.
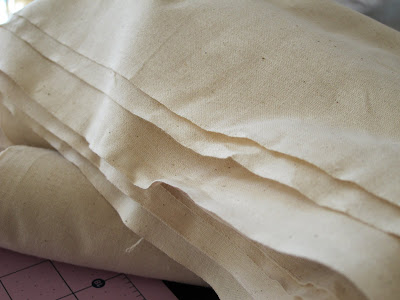
I used 4 yards of muslin. I believe it cost about $3 a yard at Walmart.
 Cut out the apron bases according to the "flirty apron" instructions. Take one apron base and lay it out. If you want your apron to have false ties as an embellishment, just cut 3 strips of fabric any width you want. The length of the strips need to be as long as the width of the apron base. Fold each strip in half right sides together and sew it together down the edge. Pull it right side out and lay them across the apron base. At the edge, sew the 3 strips to the apron base as shown in the picture. Set it aside for a moment while you work on the ruffles.
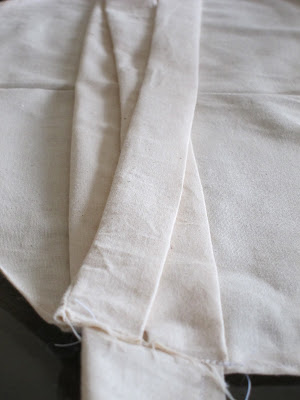 Each ruffle is 8 inches wide and 42 inches long. They length can vary depending on the size of your apron. Hem the bottom and the sides of the ruffle. Baste stitch the top and pull the thread to create a ruffle.
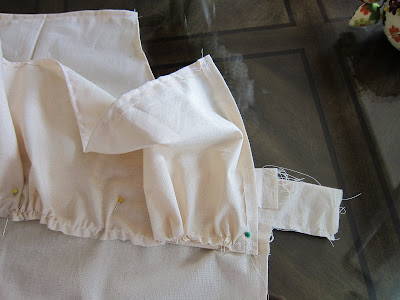
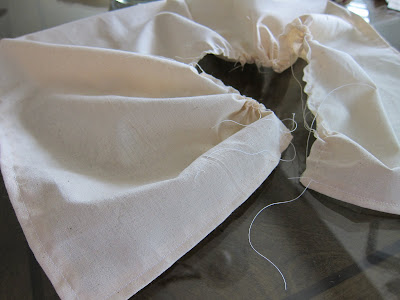 Lay the first ruffle, right sides together, on top of the false ties so that when you sew it, you are also sewing the false tie into place. In other words the gathered ruffle edge will be sewn onto the bottom edge of the false tie. Once it's sewn...
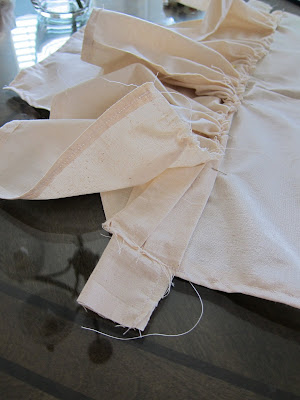
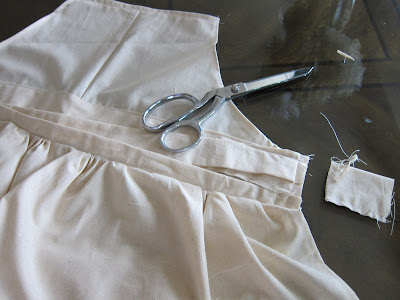
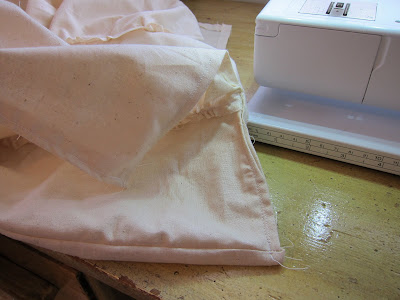
...fold it over. This is what it should look like. Cut off any extra false ties if you have any. Sew a stitch across the top of the false tie to secure the top in place.
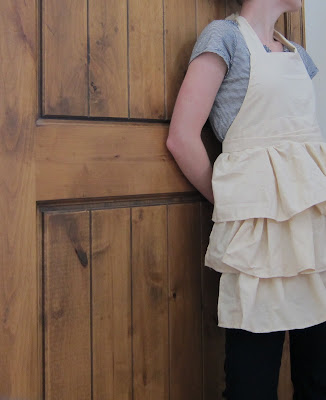
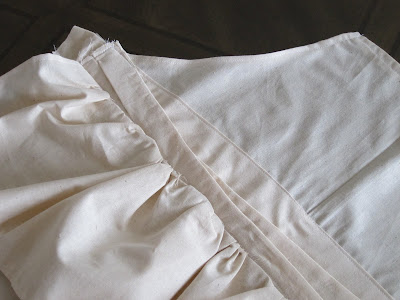 Add the next row of ruffles 4 inches below the previous ruffle. You can add a fourth row of ruffles if you need to. It all depends on the size of your apron.
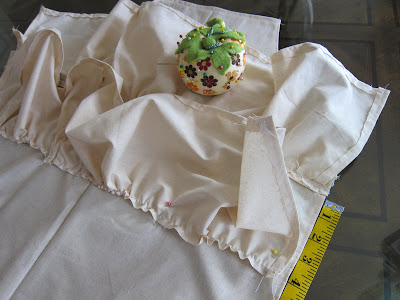 You end up with an untouched apron base, your ruffled apron base, and 4 apron ties all sewn, pulled through to the right side, ironed, and ready to go. (See the flirty apron tutorial for more info about the construction of the ties.)
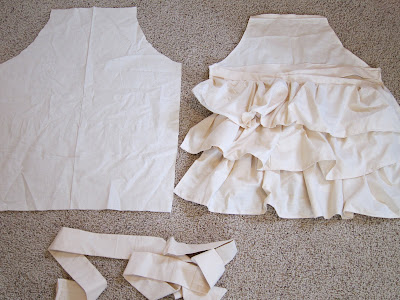 Place the ties where they need to be. Two at the top and two at the sides. They need to be situated just how the picture shows. (They need to lay "into" the apron. You will see how it all works in the end.)
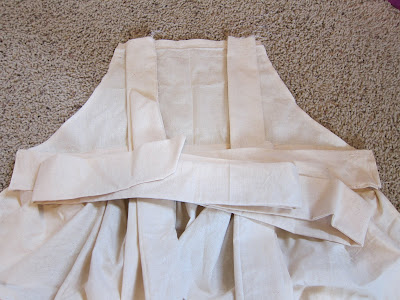 Fold up the ruffles so that they don't hang off the edge of the apron. They need to be out of the way of the sewing needle.
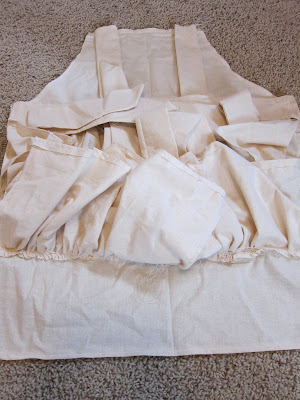 Place the untouched apron base on top of everything, like a sandwich.
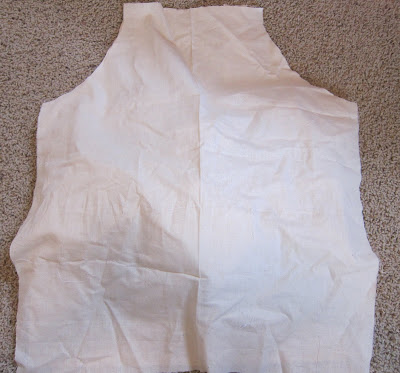 Pin it together. Make sure to pin where the ties are so you have no problem sewing them in place. Sew around the edge. Leave a gap (about 4 inches wide) open somewhere at the bottom so you can pull everything right side out.
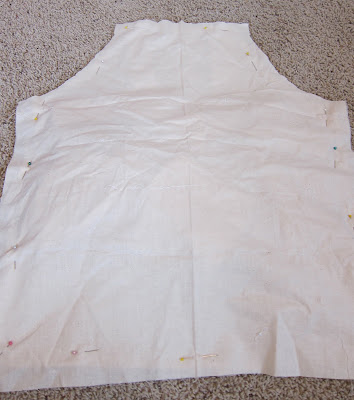 Here it is pulled right side out.
 Sew the opening closed.
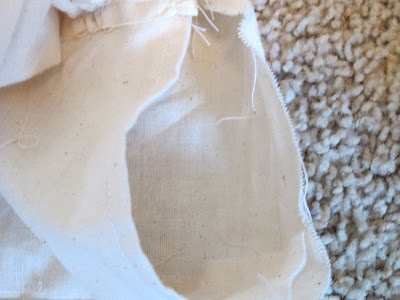
 The ruffle lays over the sewn gap so everything looks really finished.
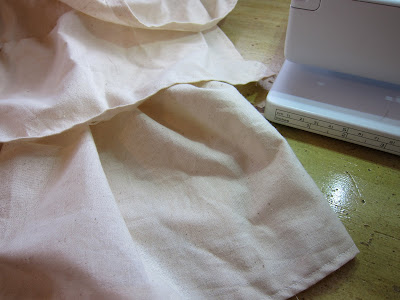
 Happy Thanksgiving!! Enjoy spending time with your family in the kitchen!!
Stephanie
No comments:
Post a Comment